How to do your own French polishing or restoration – and when to leave it to the pros
Alex Webster, an antique restorer and French polisher, explains five techniques to save damaged furniture yourself with these DIY French polishing techniques – and warns you when you need to call in an expert.

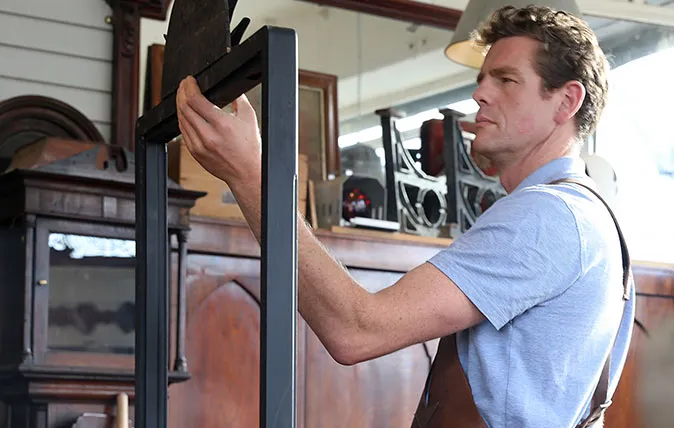
Alex Webster is a French polisher, furniture restorer and cabinet maker based in Colwyn Bay. He works with antique dealers and clients across the country, as well as National Trust Properties, historic houses and estates, dealing with everything from simple repairs to full refurbishment of antique Chippendale pieces worth £50,000 or more.
Alex is one of the experts featured in Salvage Hunters: The Restorers, broadcast on Quest — the second series is currently on at channel 37 on Freeview or channel 167 on Sky/Freesat, and you can catch up with older episodes here.
5 French polishing and restoration techniques you can do yourself at home
How to remove white water marks from a French polished top
When liquid is left to sit on a polished surface too long it will sink into the finish. The bottom of a hot cup will do the same, with heat softening the polish and then trapping moisture inside as it cools.

Removing this is often simple. To start, you will need an extra fine 0000 grade wire wool. Make a tennis ball size pad with a ball of the wire wool, start rubbing gently with the grain of the wood and then increase the pressure until it starts to disappear.
Be careful that you don't go right through the finish down to the bare timber below, because if this happens it's time to call a professional.

Once the stain has gone, continue over the whole area to ensure a uniform appearance. This should leave your top clean, watermark free but with a matt finish. Bringing back the shine can be achieved by using a good quality beeswax. Use a colour that matches your furniture, apply with a soft cloth and then buff off for a shine. This can be repeated until the desired shine is achieved.
A cheeky tip if you have a highly polished piece of furniture... a higher shine can be achieved by using a soft cloth and a metal polish such as Brasso or T-cut. Apply to a soft cloth so that the cloth feels damp with the polish, not wet, and concentrate on small areas at a time, buffing small areas then going over with a clean cloth, like you would with the wax.
As with all restoration methods, always try on a small discreet area first to ensure the method works on the individual piece.
Removing the grime off the bottom of kitchen table legs, or re-colouring them if they have lost their colour due to cleaning / bleaching the floor
It's common to get a build-up of grime on furniture legs and so a gentle solution for removing this stubborn problem in needed. This can be difficult to remove, but an extra fine 0000 grade wire wool and some white spirits will break this down and make it easy to remove.
Just pour a small amount on to your small ball of wire wool and rub the area gently until it starts to remove. Particularly large pieces may take some time if they need going over completely.

Keep changing your wire wool for a new piece to ensure the grime is removed. The white spirit can sink into the grain of the wood and appear darker – allow this to dry and it will lighten.
Once dry use a clean, dry piece of wire wool to clean over the area to remove any residue. You can then revive any colour that has been lost on the bottom of the legs with a wood dye that matches the colour of the table, and finish with a beeswax to complete the finish.
Reviving desk and writing box leathers
As with all work surfaces, these can often become worn and dull. A good natural looking shine on a leather makes all the difference.
For this I use French polish. This comes ready mixed in a bottle but for a finer finish pour some into a pot and add a splash of methalated spirits. About 1 part meths to 4 parts French polish. This just thins it out a touch. Paint a fairly dry coat over your leather and apply quickly.

As a rule, try to apply the polish within a couple of minutes of starting because it will start to dry and can leave drag marks with the brush. Repeat this process one hour later and allow to dry overnight.
Gently rub again with an extra fine 0000 wire wool to help make the finish uniform and polish with a beeswax to leave the leather looking polished, nourished and rich with an original looking patina.
Using wax sticks to hide scratches
Wax sticks are available in various sets and colours. These can be used as both a filler for deeper scratches and to hide more minor scratches by using them almost like a crayon.
For the deeper scratches, I like to break a small piece off the stick and melt it. This can be done in a spoon over a candle or the hob. This also gives you an opportunity to mix the colours together to get a perfect match. I then use a small paint brush, dip it into my melted wax and fill the hole.

Allow to cool for 5 minutes, and then use a plastic card such as a bank card and gently rub over the area to remove excess wax until completely flush and smooth. Then use a soft cloth or your finger to gently rub the wax until it shines. This will help blend it in with your polished top.
How to darken a piece of furniture
To darken a piece of furniture it usually needs to be brought down to its bare wood state. This can be done by sanding or by using a varnish stripper or methylated spirit and wire wool, but this is often the most time-consuming part of the darkening process.
Once stripped, paint a coat of stain over the piece as even as possible, ensuring no brush marks. Use a stain that reflects the shade you desire. The dye should not take long to dry and will then need to be sealed with a neat coat of French polish. Again, paint this on evenly and fairly dry to avoid an excessive tacky looking finish.

If the furniture is still too light you can apply another coat of stain exactly the same way and then apply another coat of French polish to seal. Once happy with the shade of colour add a thinned coat of French polish for a finer finish.
This then needs to be left overnight to harden, before using a good dark coloured wax to achieve a softer more natural finish.
Again, be sure to try any of these techniques on a discreet area before tackling the more visible, larger areas. They might not suit your piece and you do not want to cause costly damage. Build your skills and confidence steadily.
Five times you'll need to leave it to the professionals
Damage to glass lacquered finishes
Many modern pieces of furniture and reproduction antiques have a spray lacquer finish. Damage to a spray lacquer can only be fixed by a professional. The finish is thick and very hard to damage, but when it happens it tends to penetrate right through and fracture, making it impossible to fix without removing all the lacquer, which is by it's tough nature very hard to remove, and then a respray which requires specialist equipment and skills.
Stains to veneered furniture
If a veneered or Marquetry table has a very bad stain, it can often be the case that the stain has passed right through the veneers making it difficult to remove. This usually requires dangerous chemicals or sanding. The chemicals should of course only be used by experienced restorers, and sanding runs the very real risk of sanding right the way through to the base timber below. The veneers will obviously then need to be replaced which is costly and very specialist.

Removing black water stains from oak
If metal objects are left wet on bare oak an oxidation takes place deeply staining the timber. A well-worn oak refectory table can look great with all its finish gently worn off over years of use, with many subtle stains and plenty of character, but a black stain is too much of a contrast.
Sanding would cause too deep of a scoop in the top, so chemicals that should only be used by experienced professionals are required. These are toxic and can often require a licence. Best left to the expert.

Burns to furniture
Candles left too long on furniture or occasionally cigarettes or cigars falling from the ash tray can cause burns. These also cause deep damage and are rarely just surface marks so often require sanding, and this risks damaging timber, colour and finish that are beyond an amateur enthusiast to reapply.
Darkening of furniture that has a tight grain and will not take the stain
Some timbers do not take colour. They can be so naturally light and have such a tight grain that colour does not penetrate the dense timber surface. The only way to darken it is to paint a fine layer of stain over the piece, seal it with French polish and repeat.
This is a difficult skill to master, especially as the blending of the correct colour is a skill in itself, and attempting it on a valued piece of furniture can cause not only a mess, but a job which is more expensive to remedy than if it was left to a professional from the start.

Credit: alamy
10 ways interior design will change in 2018: The death of minimalism and an end to trend-chasing
Our interiors editor Giles Kime gazed into his crystal ball to make these bold predictions for what might happen in

How to create the perfect home office, from converted garage to treehouse to shepherd's hut
From Shepherd's huts to treehouses, the trend for homeworking has produced some creative ideas for home offices

The new kitchen design mantra: Don’t be afraid of the dark
Dark colours and rich materials are creating moody new looks in kitchens, says Amelia Thorpe.

Credit: Richard Munckton
How Downton Abbey spawned Britain’s emerging kitchen trend
It may be gone from our screens, but Giles Kime believes that the hugely-successful Downton Abbey has left a lasting
