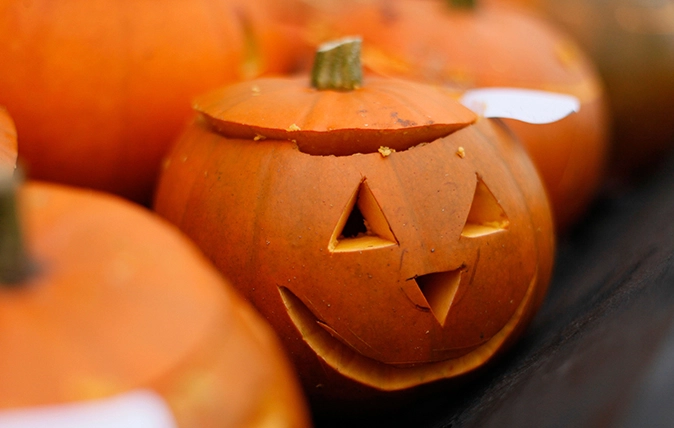
How to carve a Halloween pumpkin
You've dutifully bought a pumpkin - now here's how to carve a Jack o' Lantern like a pro.

The most crucial bit about carving a decent ‘Jack o' Lantern' is having a healthy, well-shaped pumpkin to begin with. The shape will depend on the design you want but the health of the thing is paramount.
When you have chosen your pumpkin, perform these simple checks before you get carving: Does the pumpkin sit on a flat surface without rolling over? Is the skin free from any cuts or abrasions? The stem should be around two inches long. Another good thing to do is to tug the stem firmly and press the area around it with your finger. If the pumpkin feels soft, or the stem comes out, then the pumpkin is rotten and unusable.
When you are happy with your pumpkin, set it out at home on the kitchen surface on some newspaper and use a damp cloth to remove any dirt, then pat it dry. Treat it well.

Next thing to do is gather your tools - here is an exhaustive list:
- A large boning knife
- A small paring knife
- A large spoon or ice cream scoop
- A bowl
- A black marker pen
- Newspaper
- A damp cloth
There are actually pumpkin carving packs available to buy for those keen carvers out there, but most of the above should be somewhere around the home.
Step one: carving the lid
This can be as big or as small as you want - remember to carve at roughly a 45% angle, with the knife pointing towards the centre of the pumpkin, to prevent the lid falling in.
Step two: remove all pulp from inside
This is the safe, easy part that your kids can help with. If you plan to roast the pumpkin seeds later, put all the pulp into the bowl. Otherwise, just throw it away. Then scrape the inside of the pumpkin away with the spoon - the more you scrape away, the more light will shine through.
Step three: carve the face of your jack o' lantern
Using a marker pen, trace the outline of your chosen design. Then start carving. As you do, make sure you point the knife slightly inwards - this will leave some inner pumpkin showing, and will glow brighter than the rest, giving your design a nice, bright border.
Step four: lighting the pumpkin
It is traditional to use a candle, but tea lights work just as well and are less likely to fall over. For those of you who are disco lovers, feel free to experiment by using flashing lights or whatever you wish. Then present it proudly for all to see!
The biggest problem you face after you've carved your pumpkin and put a candle (or whatever you choose) inside is preserving it - pumpkins are very prone to drying out. To delay this as much as possible, apply a thin layer of petroleum jelly to all cut surfaces and refrigerate it when you are not using it during the day.
Good luck!

How to put on the ultimate Halloween Feast, from eating eyeballs to drinking blood
Throwing a Halloween party this year? Here are our favourite suggestions for nightmarish nibbles and demonic drinks with which to

Best recipes for Halloween treats
If you're more interested in treats than tricks this Halloween, try pumpkin pie, candy apples or spiced autumn punch to

6 spooky Halloween activities for children
Entertain your little monsters with one of these outings this weekend.
