How to make a compost cake
The Land Gardeners — aka Bridget Elworthy and Henrietta Courtauld — share their tips on how to make compost without a compost heap.


Exquisite houses, the beauty of Nature, and how to get the most from your life, straight to your inbox.
You are now subscribed
Your newsletter sign-up was successful
Unlike a standard compost heap, The Land Gardeners' compost cake is constructed all in one go. In the British climate, you should construct the cake during the growing season, i.e. during the months of April to November.
Through the winter you can still prepare ingredients and keep them until you’re ready in spring. Grass clippings, for example, can be set aside after mowing and kept until ready to assemble the cake.
Below, you’ll find all you need to know about putting one together and looking after it. The aim is to produce a ratio of 60:1 of carbon to nitrogen as this is the best way to encourage the flow of oxygen and thus microbial action.
What you’ll need
- Carbon-rich material. This will include mature plant material that has gone to seed, including straw, brown leaves, stalks, cardboard and woodchips from young wood. (Don’t use wood older than three years — the lignin it contains requires a lot of nitrogen to break it down.)
- Nitrogen-rich material. This includes grass cuttings, weeds (but not bindweed, ground elder or couch grass) and farmyard manure.
- You can also add things such as biochar (a very stable form of carbon) and seaweed (liquid or powder) to provide extra nutrients.
- 7–10 bamboo canes 5ft–6ft high
- A thermometer
- An area of ground protected from strong winds
- Clay (dried and broken down into a powder)
- Some old compost or loamy soil to kick-start decomposition
Assembling the cake
Stick 7–10 bamboo canes into the ground in a circle, ideally 5ft in diameter. Fork around the bases of the canes to aerate the soil.
Start building the cake, initially with a carbon-rich layer 9in–10in in depth. This first layer needs to be full of structure (good ingredients include artichokes and sunflower stems).
Check for moisture after each new layer is added. The aim is for the layers to have the wetness of a wrung-out sponge — a drop or two should fall when you squeeze it in your hand.
Next, add a nitrogen layer 1½in thick and check the moisture content again.
Exquisite houses, the beauty of Nature, and how to get the most from your life, straight to your inbox.
Add a layer just over half an inch thick of powdered clay and old compost.
Repeat the layers again — carbon, then nitrogen, then clay powder — checking for moisture content after the carbon and nitrogen layers. Stop when you reach a height of 4ft.
Finish with a 6in layer of straw, mounding it up in the centre so that water runs off.
Stick a thermometer in top third of the pile so you can monitor the temperature.
Looking after the cake
The aim is for oxygen, warmth and water to reach through the heap to encourage microbial activity. At first, the heap will be damp and brownish-green to yellow in colour.
The temperature can rise swiftly — to 57˚C-60˚C — and you’ll need to keep watching the heat and adjusting it accordingly. Between 59˚C and 65˚C, weed seeds and unwanted bacteria are killed. If it gets any higher, and beneficial microbes will be destroyed.
If the cake rises above 65˚C, turn the compost to bring down the temperature. Do not worry if it does not rise above 50˚C, as heaps retain more carbon at lower temperatures.
Water the heap if it becomes too dry, but avoid soaking as this will cause it to become anaerobic.
When the temperature drops and the heap darkens to blackish-brown, the process of decomposition is well under way and the humus is being formed.
The heap is ready when the material has become crumbly and friable. Depending on the weather and other factors, this should take about six months.
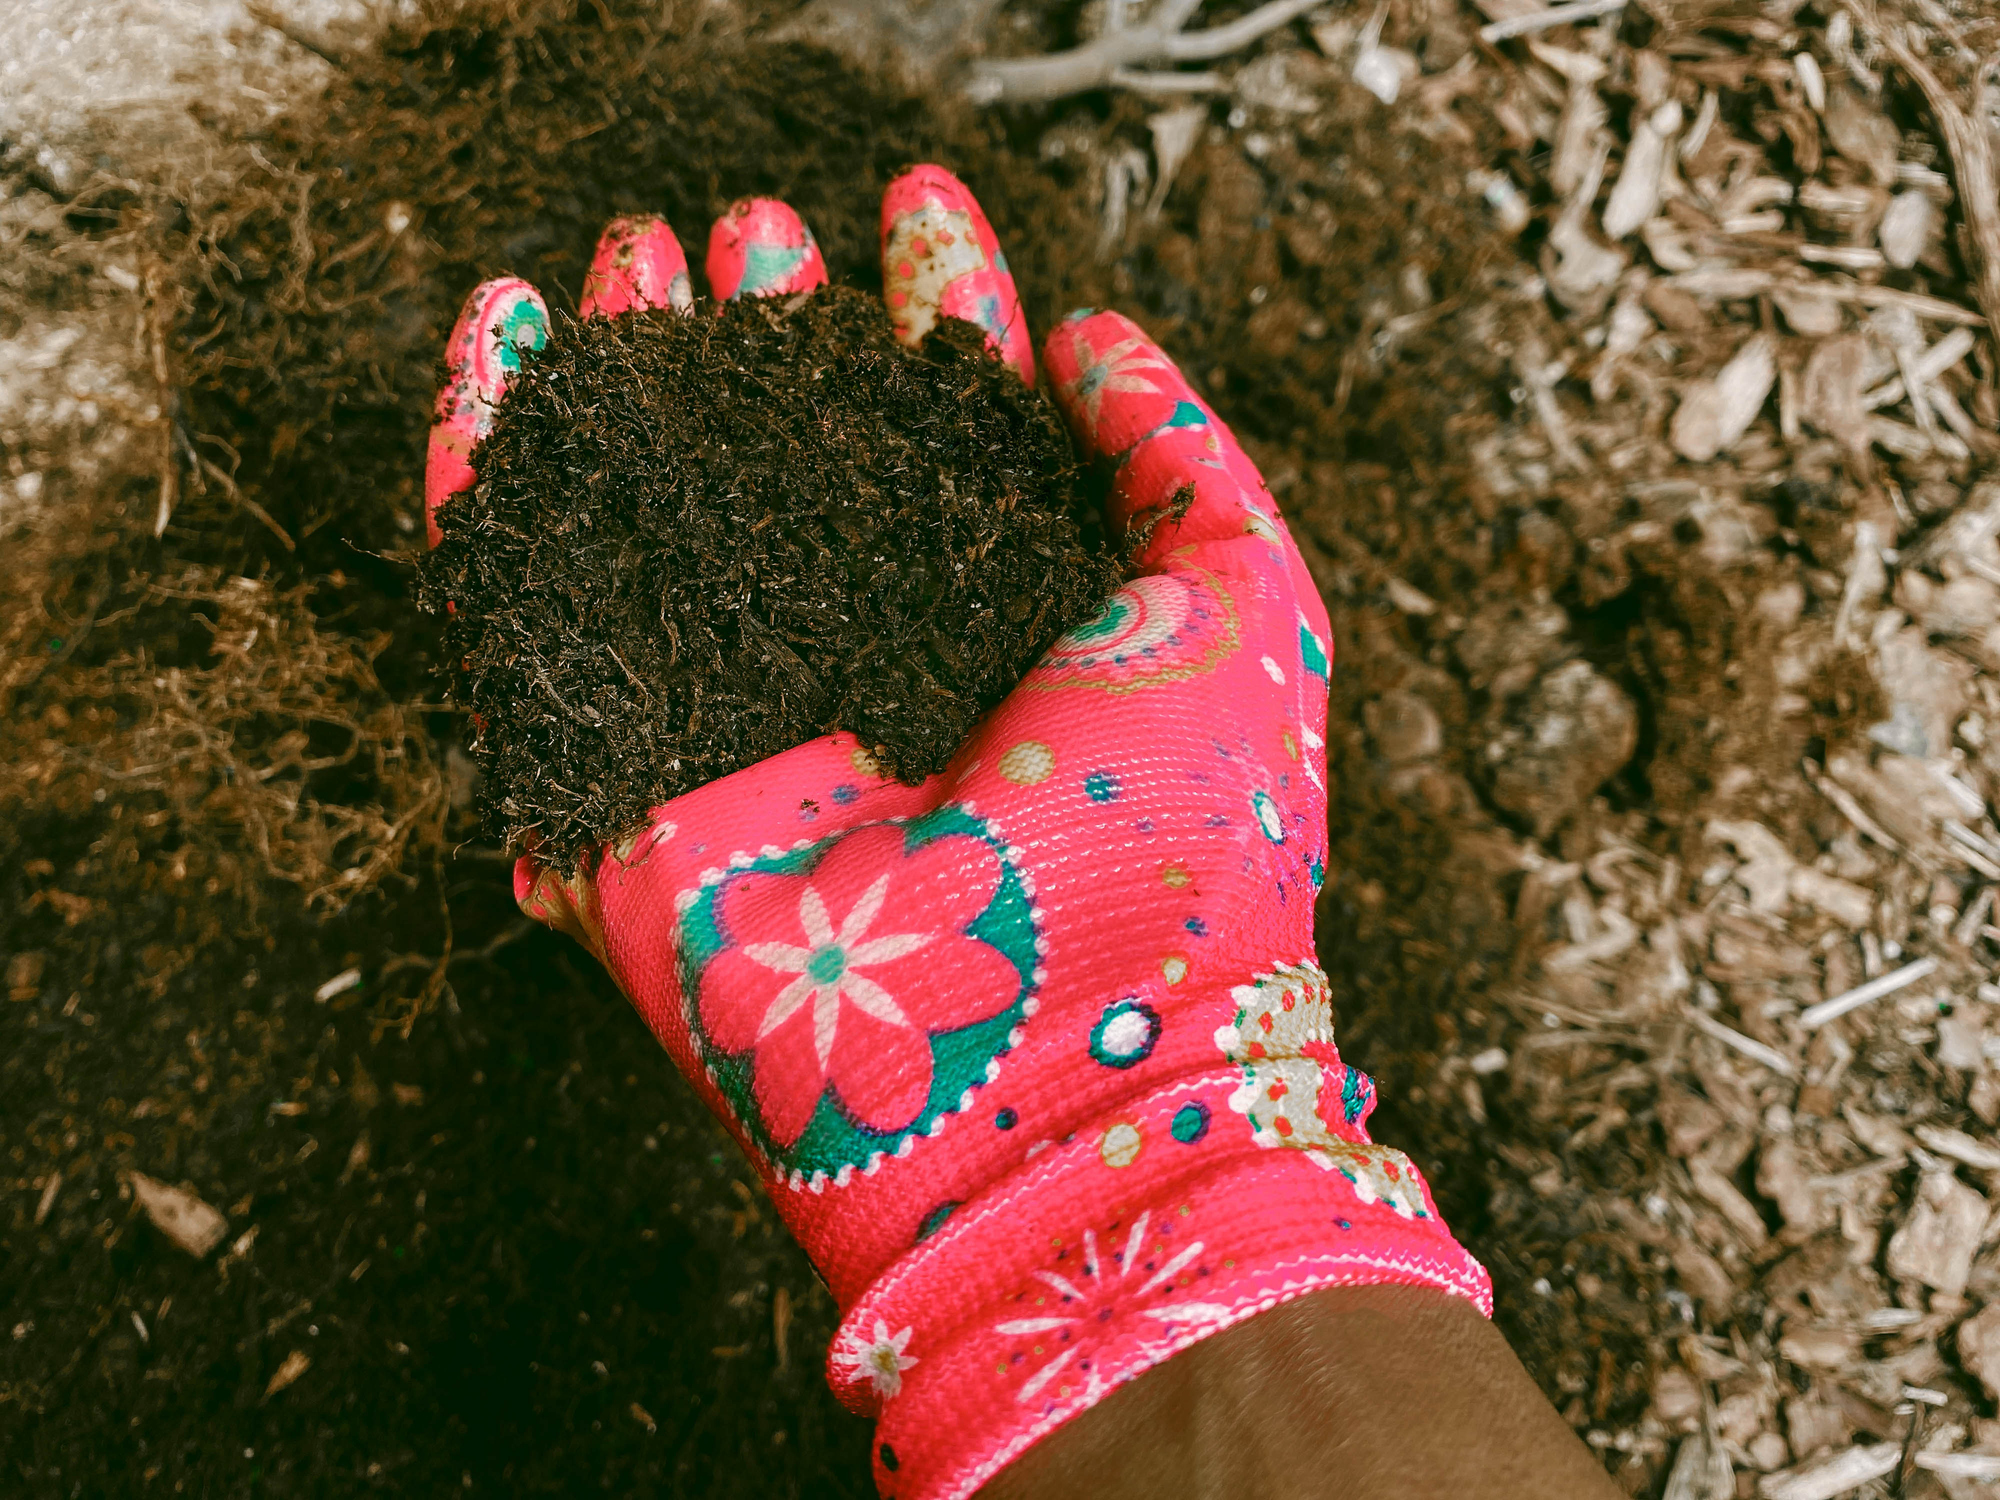
Use the humus to enrich garden soil by adding a small pinch into your planting medium when potting up. Add a small amount beneath seedlings when planting them out, incorporating a small layer into your soil.
Or you can make a compost ‘tea’: adding a tablespoon of compost to a bucket of water, stirring it and pouring it over your plants as a foliar feed.

Credit: Jacky Parker via Getty Images
Your month-by-month checklist of what to do in the garden and when in 2022
Keeping on top of the gardening jobs can be daunting, and it's all too easy to let things slide in

Credit: Val Corbett/Country Life
Alan Titchmarsh: 'I suppose I should be going stir-crazy in self-isolation. The reality has been rather different'
Gardener, writer and broadcaster Alan Titchmarsh has been going to the Chelsea Flower Show for half a century, and should
Country Life is unlike any other magazine: the only glossy weekly on the newsstand and the only magazine that has been guest-edited by His Majesty The King not once, but twice. It is a celebration of modern rural life and all its diverse joys and pleasures — that was first published in Queen Victoria's Diamond Jubilee year. Our eclectic mixture of witty and informative content — from the most up-to-date property news and commentary and a coveted glimpse inside some of the UK's best houses and gardens, to gardening, the arts and interior design, written by experts in their field — still cannot be found in print or online, anywhere else.
